Showing posts with label mains. Show all posts

Thursday, 26 January 2023

HPM D817SLIM Repair

Introduction
This short blog details the repair of an HPM main-powered digital switch timer, model D817SLIM. The fault symptoms are a blank LCD which does not restore even after the timer is plugged back into the mains.
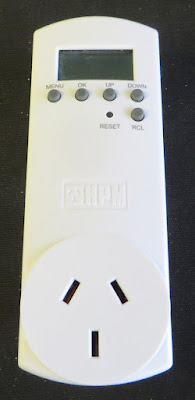
HPM D817SLIM Mains Digital Switch Timer

Opening the Digital Timer
Disclaimer: Repair of any mains-rated electrical equipment should be conducted by qualified personnel. The information provided in this blog is for reference purposes.

The mains-powered timer (unit) had not been powered for several years and the LCD that displays the time and timer functionality was blank. Connecting the unit to the mains did not restore the operation of the LCD.

To open the unit, there are two plastic screws on the rear of the unit. The screws appear to be a Y-wing or a variant of that screw. A 2.4 mm wide flat blade was found fit the head pattern and the screws were removed. The two-piece plastic case uses internal clips so the same screwdriver can be used to unclip the case halves. There are circuit boards on either side of the plastic cases.
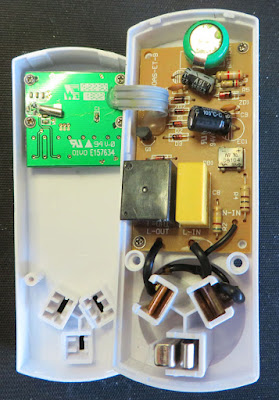
Internals of HPM D817SLIM Mains Digital Switch Timer

Dead Battery

Upon opening the case, a small Ni-MH battery with corrosion or leakage was visible on the circuit board. The part was identified as a Troily 1.2 V 80 mAh Ni-MH battery.

Troily 1.2 V Ni-MH Battery

Instead of replacing the battery, it was decided to use a standard electrolytic capacitor. If this unit was to be used in an area with frequent and long interruption to mains power, a battery replacement would be advised instead of the capacitor.

To remove the circuit board with the battery, two small Philips screws were removed.
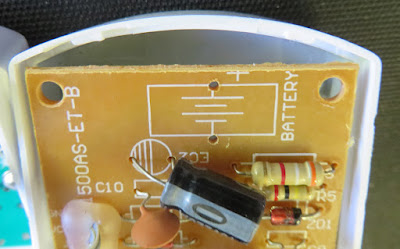
Removed Troily Battery
Removed Troily Battery from HPM Circuit Board


Battery Replacement
The battery was then unsoldered and replaced with a 1000 uF 25 V electrolytic capacitor. Since the operating voltage of the mains timer circuit is less than 5 V, a 6.3 V capacitor with a larger capacity could likely be used. Testing showed that with a 1000 uF electrolytic capacitor, the switch timer remained powered for approximately 6 minutes after a mains failure.
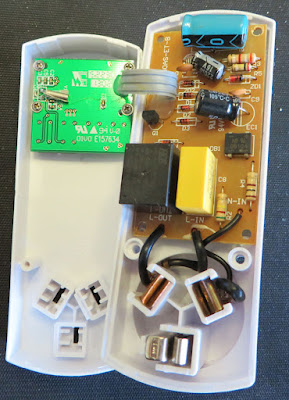
HPM D817SLIM Mains Digital Switch Timer with Capacitor

Other options to repair the unit, such as replacing the Ni-MH battery with a similar type or using a supercapacitor may be possible.

Sunday, 11 December 2022

240 V AC Mains Adaptor for Rachio 3 Smart Controller

Introduction
This microblog details the process of fitting a
240 V AC mains transformer to the Rachio 3 outdoor enclosure. The solution does not require a separate step-down transformer.

Rachio 3 Smart Controller Enclosure with 240 V AC Mains Transformer

 Details
The Rachio reticulation controller is shipped with a 110 V AC to 24 V AC transformer (adaptor). While the provided transformer alone is unsuitable in regions where the main supply grid is a different voltage, there is an alternative transformer that fits inside the Rachio weatherproof enclosure.

The 240 V AC to 24 V AC transformer is available from suppliers such as Amazon, Altronics or the BourneSuperStore.

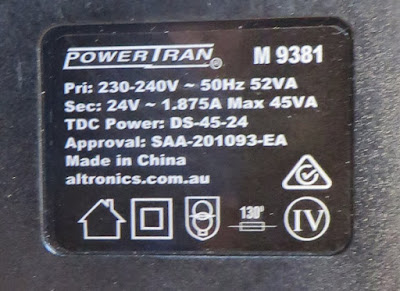
PowerTran 24 V AC Transformer Plate. Altronics M 9381

Fitting


Disclaimer: The voltages present in this post are 240V AC. Care and steps should be taken to prevent electrocution. Wiring should only be performed by experienced persons.

The previous mains socket was removed from the Rachio outdoor enclosure to fit the alternative transformer. The socket assembly is a snap design that can be removed using a screwdriver.

Mains Socket from Rachio Weatherproof Enclosure

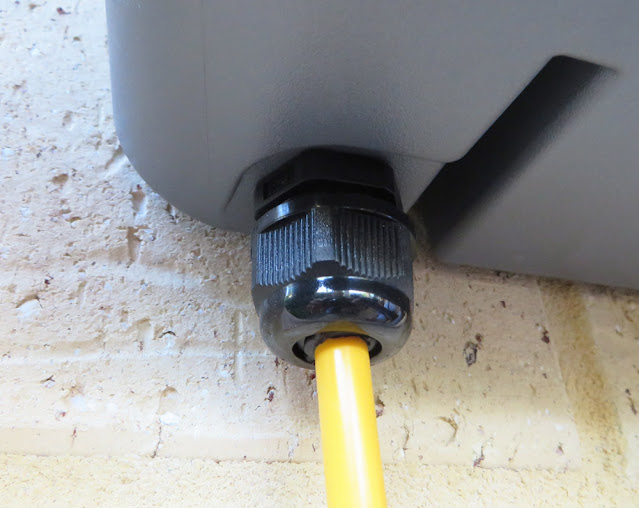
A separate double-insulated mains cable was provided to the Rachio enclosure through a 25 mm cable gland for the mains supply.

Rachio Weatherproof Enclosure with Cable Gland

The alternative transformer was supplied with a moulded mains plug. Mains termination was made by shortening the transformer cable and then connecting it to the outside mains cable. The existing section in the external enclosure was used for termination.

Mains Cable Termination in Rachio Weatherproof Enclosure

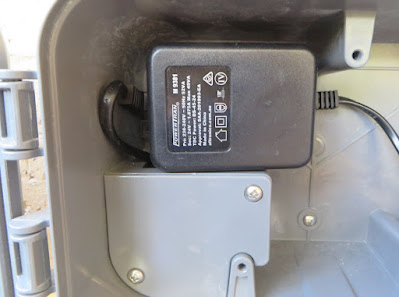
The transformer was placed in the upper left corner of the enclosure.

Installed 240 V AC to 24 V AC Mains Transformer

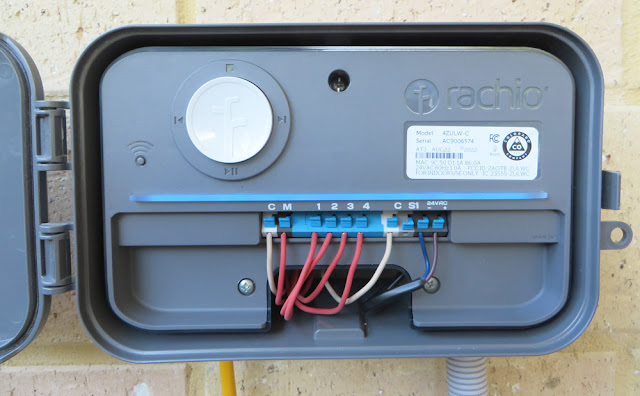
Following the installation of the alternative mains transformer, the process for
wiring the Rachio controller was followed.

Rachio 3 Smart Controller Mounted in Weatherproof Enclosure