Summary
This blog covers the cleanup and minor repairs to an original Altronics (T2440) 60 W Micron temperature controllable soldering station.
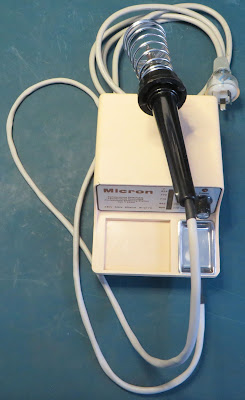 |
Repaired and Cleaned Micron Soldering Station
|
Details
Purchased many years ago, the only repair or maintenance performed on the soldering station has been the replacement of the soldering iron element.
Since some of the plastic insulation around the mains power and handpiece cables was looking neglected, it was decided to perform a routine cleanup and repair of the unit.
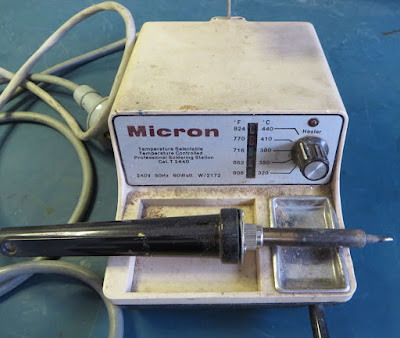 |
Micron 60 W Soldering Station
|
Following the removal of loose dirt, the soldering station was disassembled. Four plastic screws secured the lid on the soldering station. Three plastic screws secured the heating element in the handpiece.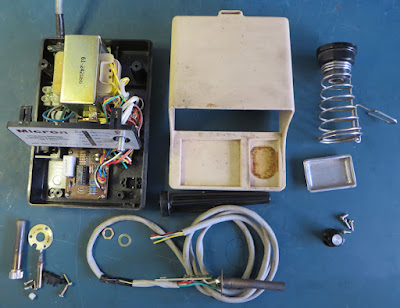 |
Disassembled Micron Soldering Station
|
The damaged cable from the soldering iron handpiece was cut off at the entry point into the soldering station.
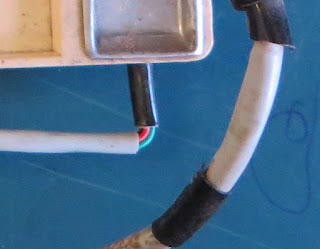 |
Damaged Cable Entry Points
|
Isopropyl alcohol was used to clean the outside of the handpiece and connecting cable. The black plastic at the entry of the handpiece had become brittle and was replaced with two layers of black heat shrink.
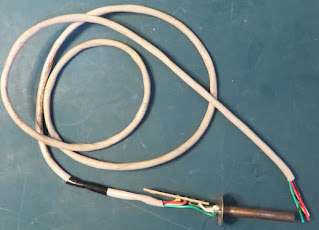 |
Heater Element and Cable
|
Both the soldering element barrel cover and soldering tip were polished using a light cutting compound on a buffing wheel.
 |
Heater Barrel Cover (Before)
|
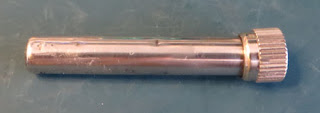 |
| Heater Barrel Cover (After) |
 |
| Soldering Tip (Before) |
 |
| Soldering Tip (After) |
A bath of white vinegar (5 % solution) was used to clean the top case and soldering iron stand. These items were left to soak overnight.
Replacement of the black plastic around the handpiece cable was again made with black heat shrink.
 |
Repaired Soldering Handpiece
|
The repaired handpiece was wired back into the soldering station.
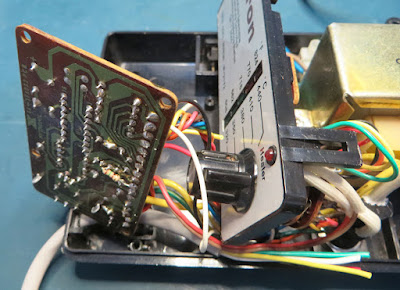 |
Soldering Station Control Board
|
For the main cable, this was replaced with a newer style plug. Black heat shrink was fitted around the main cable at the entry point into the soldering station.
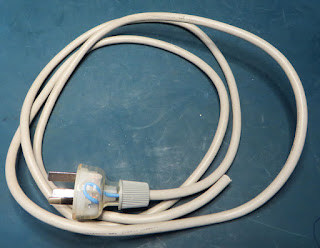 |
Replacement Mains Plug
|
The mains plug and cable were rewired into the station. As with any mains wiring the typical disclaimers and directions apply; be careful!
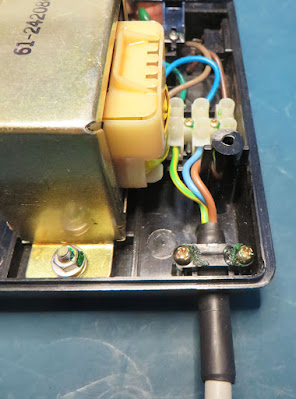 |
Rewired Mains Connection
|
Any remaining small items were firstly cleaned in an ultrasonic bath which was followed up with a liberal application of Isopropyl.
Large items such as the yellow/cream cover for the soldering station required hand cleaning with a general-purpose paste type liquid cleaner. This was required to remove ingrain flux, dirt or other burnt miscellanea.
The soldering station was reassembled and tested.
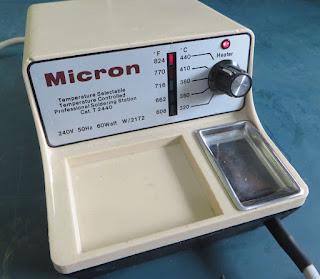 |
Operating Soldering Station
|

